The Tools You Need To Properly Demo Your Fixer-Upper
[video_widget][/video_widget] The other day I walked through the front door of our fixer-upper, to realize that all of the pieces are kind of falling into place. The popcorn ceiling is long gone along with almost every wall outlet. Looking […]
The other day I walked through the front door of our fixer-upper, to realize that all of the pieces are kind of falling into place. The popcorn ceiling is long gone along with almost every wall outlet. Looking back now, so much has changed in such a little time. We closed on our fixer-upper on Halloween 2018, and after a month of demolition nights turning into demolition weeks, we have officially started to piece back together our new home.
With that being said, I completely went into the demolition unprepared not only tool wise but also mentally. Let’s start off by saying demo work is not as fun as it looks like, it is hard, tiresome, sweaty and sometimes painful work. I can remember coming home from a day of demolition and going to bed at 4:00 PM…need I say more.
So I thought to myself if I could do this all over and share one advice with you all, what would it be? I thought about this for a while and decided on the most useful but least glamorous advice to give, an ultimate guide to the tools you need to properly demo your fixer-upper. I know it’s not the most thrilling part of fixing up a home but being prepared material wise, will save you so so so MANY trips to Home Depot. In fact, I visited Home Depot an average of three times a day when we were in the midst of demolition. Crazy right.
Now, before we jump into things, make sure you subscribe to our Youtube channel where we post weekly OUR HOUSE series updates, as we start to dive into the design aspects of fixing up our house. Trust me you’ll defidently won’t want to miss this.
Okay without further ado…
here are the tools you’ll need to properly demo your fixer-upper:
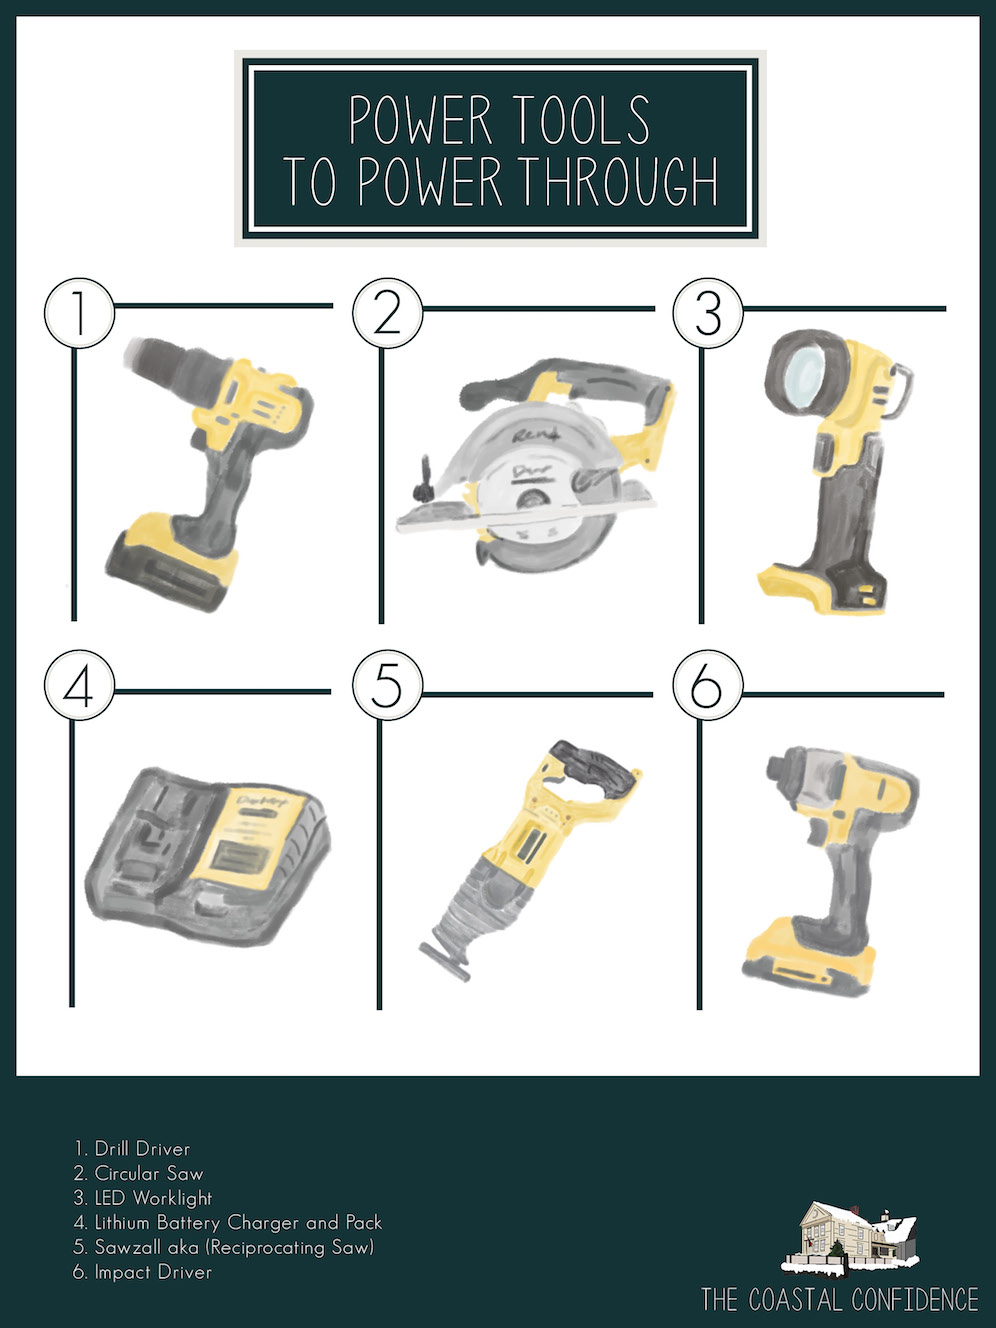
The first thing you’ll want to purchase in your fixer-upper journey is Power Tools To Power Through. I’ll admit Matt and I didn’t want to purchase this combo kit because we didn’t think we would need it, but we were so glad my Dad forced us to make this purchase. We used each and every item in this kit, which I’ll touch on just a tad. Our most used tool within the kit is the reciprocating saw aka the Sawzall! We used two of these during our demotions and they are the BIGGEST time savors, if you decided to purchase one make sure to buy at least two packs of blades, you’ll need it. A circular saw is great if you have to do any work on the floors and having a LED work light is essential especially since you should cut power during demolition time. Finally, other items you’ll find within your combo kit are lithium battery chargers and packs, a drill driver and a classy drill impact. Again you’ll save a ton of money purchasing these items within a combo kit, instead of individually over time, and it IS worth the investment for any demo project.
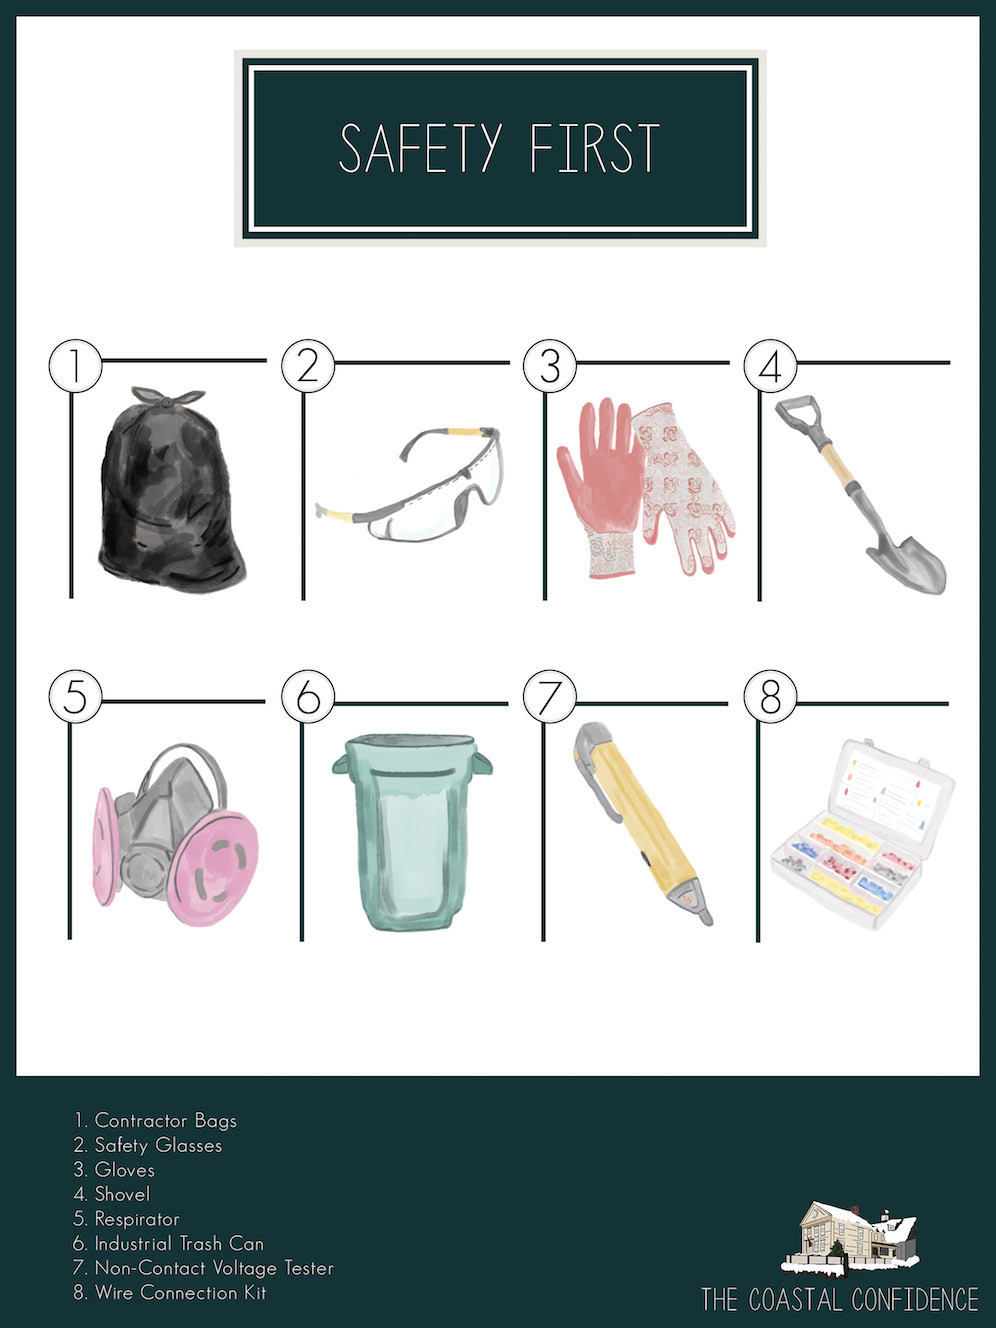
We all know the rule, Safety First! With that being said you NEED to have the above tools on sight before you even start your project! Safety is not a place to cut corners and here is what you’ll need to keep your home and your self clean during demo: safety glasses, gloves, contractor bags, industrial trash cans, shovels to pick up debris, non-contact voltage tester to check wires, wire connector kit to cap off any wires found, and a respirator to protect yourself from mold, dust, and insulation. We found everything from uncapped wires to razor blades shoved behind drywall. So keep your house clean and your body protected for whatever you might find.
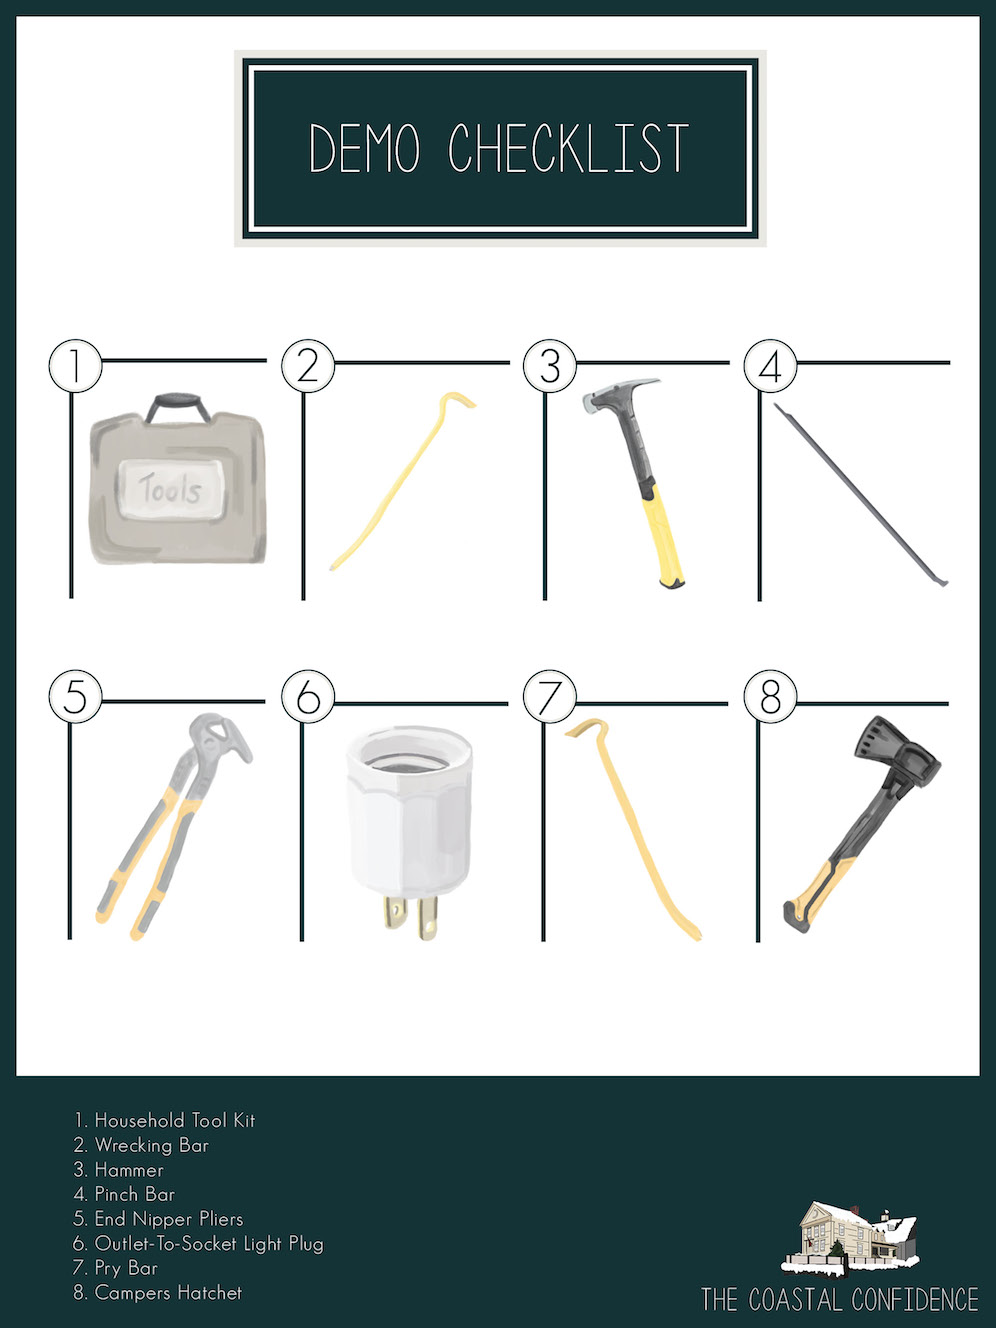
Next, you’ll need a demo checklist full of hand tools. These tools are a little less expensive and are pretty common items for specific projects; so check with family and friends first, to see if they have any of these tools lying around. You’ll defidently want one hammer per person, a household toolkit, a campers hatchet for wall demolition, small pry bar to take down framing, medium wrecking bar for taking out tiled floors and walls, a large hexagon pinch bar to lift up floorboards and damaged hardwood floors, end nipper pliers to pull out flooring staples, and outlet-to-socket light plug for light fixture free rooms!
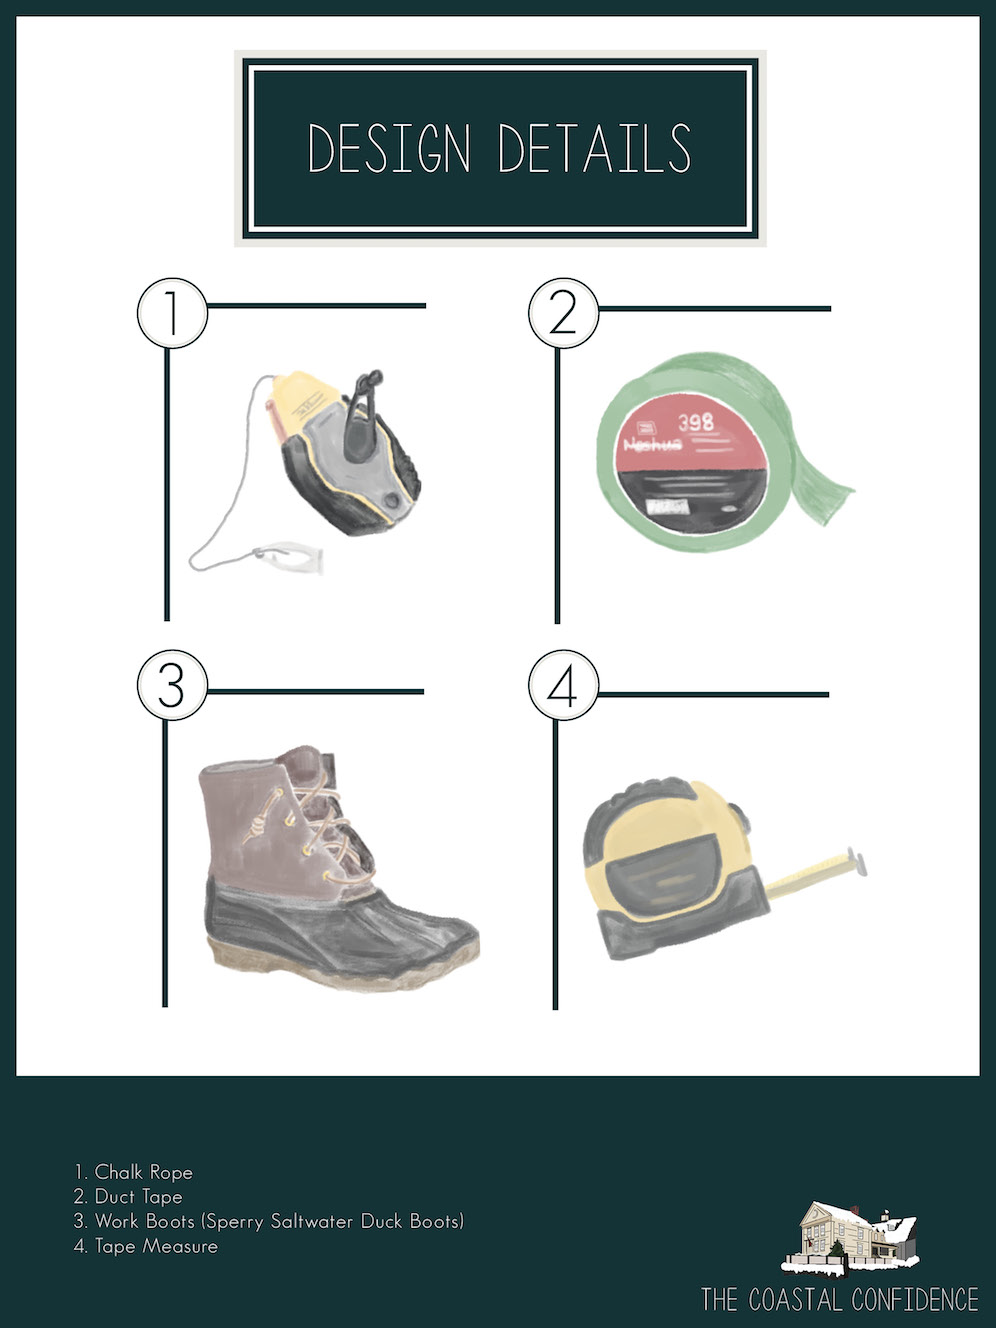
Finally, before you start demoing you should have a design in mind, but things might change as the demolition begins. As plans pivot it’s important to have the following design details on hand to help you make the proper demolition decisions. You’ll want a tape measure, a compact chalk reel to lay out cabinetry and vanities, all-weather tape to mark what walls can go and which should stay, and work boots to get down and dirty.


Leave a Comment