
02.11.2020
[outfit_details] Happy National Latte Day! Last weekend I visited Boston for the opportunity to learn the ins-and-outs of latte art with New England Dairy! Between dark winter months spent indoors and additional computer work in preparation for Mr. Trophy’s website […]

[outfit_details]
Happy National Latte Day!
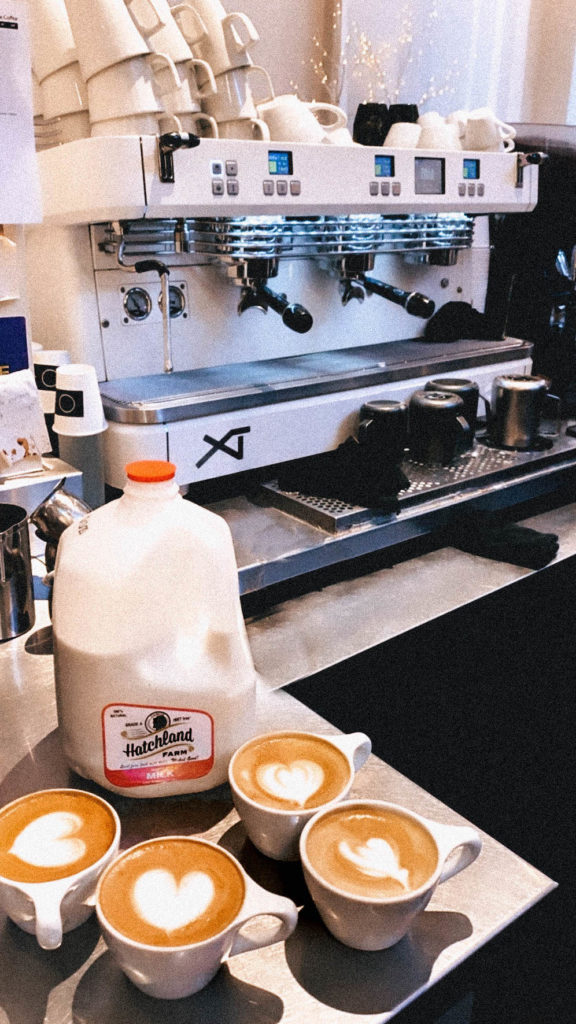
Last weekend I visited Boston for the opportunity to learn the ins-and-outs of latte art with New England Dairy! Between dark winter months spent indoors and additional computer work in preparation for Mr. Trophy’s website launch, I was so looking forward to the latte art class at Ogawa Coffee in the Downtown Crossing area of Boston.
The event was the perfect excuse for a day trip to Boston and a latte lesson I’d been interested in learning. When I have a coffee out or at home, it’s almost always either an iced or a latte. So naturally, I jumped at the invitation to perfect my at-home barista skills!
Lucky for me, the baristas at Ogawa Coffee were the best teachers! They did a fantastic job explaining the latte pouring while a registered dietitian went over the benefits of incorporating dairy into your diet when it comes to nutrition and sustainability. As a latte drinker that only orders whole milk lattes – it was interesting learning why baristas prefer it too – I’ll share why below!
Since TODAY is National Latte Day Ogawa Coffee is offering free drink upgrades for customers who order their latte with whole milk thanks to a partnership with New England Dairy!
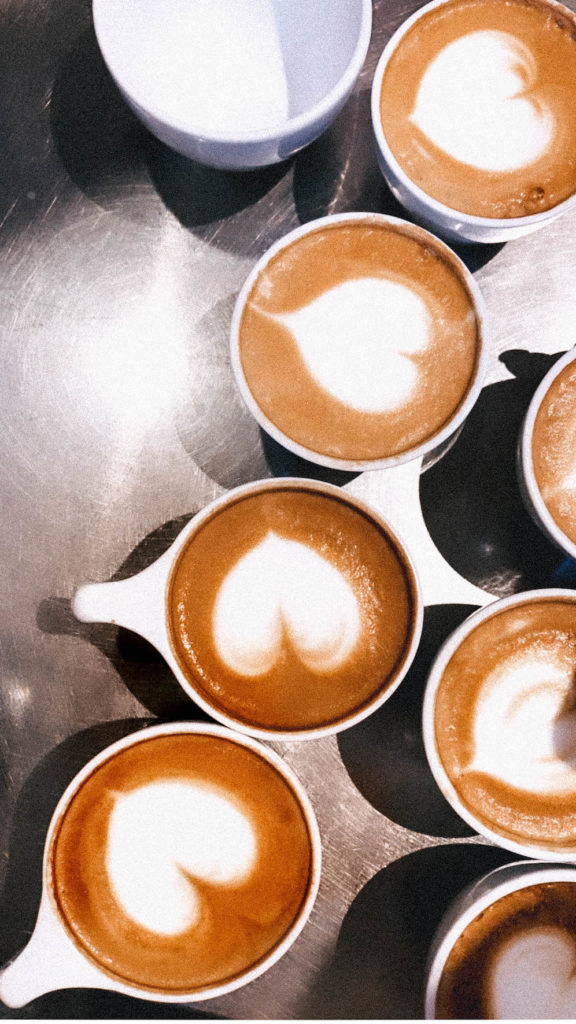

3 Steps To Make Great Latte Art:
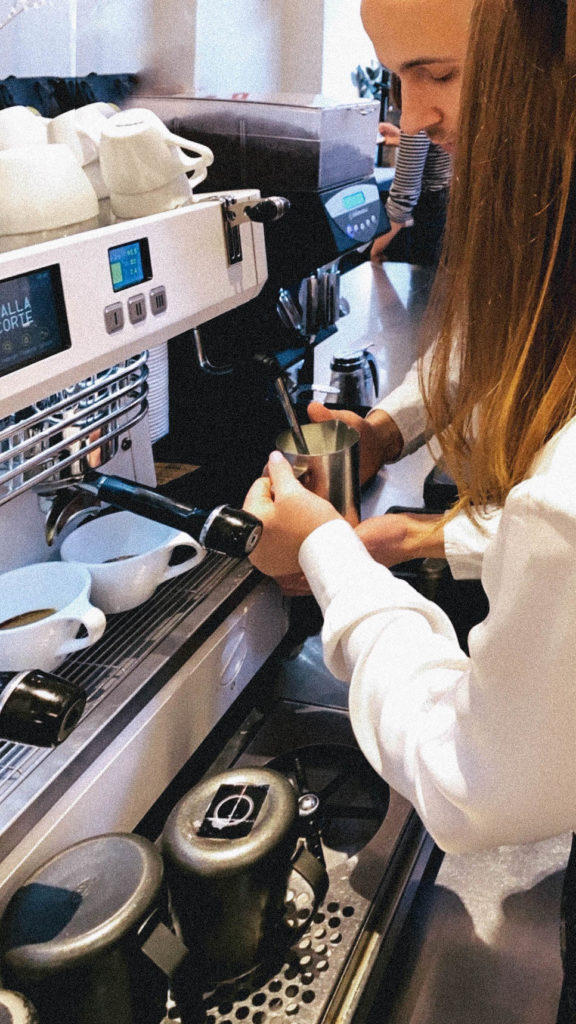
Steam Your Milk – Just Right
In order to create latte art when pouring – you must steam your milk to the perfect consistency. Consistency is key for a smooth, glossy texture and a design that’ll last longer than a few seconds. The class taught me the big difference in frothing techniques for a latte versus a cappuccino. If you’re looking to make a cappuccino, frothing your milk produces larger air bubbles in your dairy product for the perfect foam consistency. While in a latte your dairy product should be steamed for only a matter of seconds to produce tiny air bubbles for a textural difference without volume.
As a rule of thumb for a cappuccino – the milk almost doubles in volume. In a latte – the volume should only increase by 10% of the original product. One shocking tidbit the Ogawa Coffee baristas taught me is it only takes 8-15 seconds for the steaming process of a latte to be complete. This leads me to our second point – where I was making the most mistakes – latte temperature!
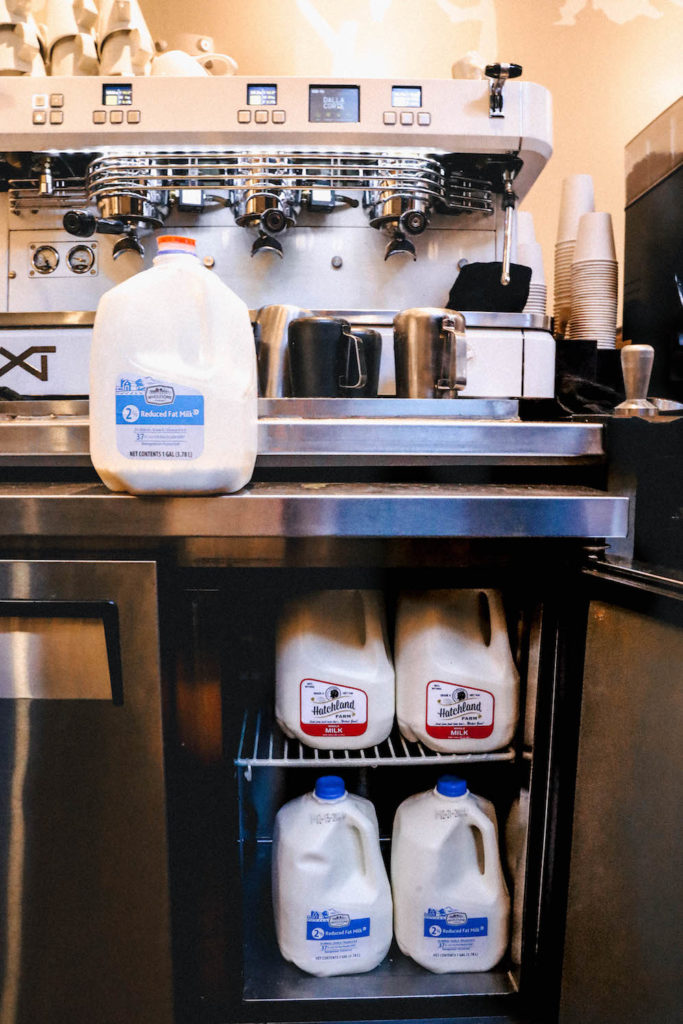
Importance of Temperature & Type of Milk
Believe it or not, a latte should NOT be as hot as you may think. The milk you use should start at refrigerator temperature and by the end of the steaming process be no hotter than 150 degrees F! If milk reaching scalding temps it loses texture, flavor and overall sweetness. For an easy way to tell if you’ve overheated your milk – the metal pitcher used for frothing should be warm but not hot to the touch.
Remember how I mentioned overheating the milk can reduce sweetness that naturally occurs in dairy? Well, it’s important to note the natural balance of proteins, sugar, fats, and water that dairy offers!
Traditionally, baristas use whole milk in lattes and cappuccinos due to its natural sweetness and creamy texture post-steaming. In fact, while I often add sugar to my regular coffee orders – I’ve found lattes made with whole milk at home or on-the-go never need sweetening. Plus, dairy cow milk is the number one source of three out of four nutrients we often focus on in our diet: Vitamin D, calcium, and potassium. So, there’s no better way to kickstart your day and diet than with a whole milk latte in the morning.
Ordering or making a whole milk latte is both good for your health and a great way to support local New England dairy farmers in your area! Local dairy farms put so much effort into keeping the dairy industry sustainable while preserving farmland and historic structures in our very own backyards.

Pouring With Confidence
Now that we know what type of milk to use, how hot to steam it to, and all the details of the steaming process – let’s chat about creating the art.
During our event, the baristas at Ogawa Coffee let us each have four shots at creating our perfect latte. Honestly, my first attempt was my best! Which leads me to say, pouring with confidence and not overthinking the process is so important.
Here are a few notes to take into consideration during the pouring process:
First and foremost, you’re going to want to tilt your coffee cup towards you to pool the espresso at the bottom front of the cup. Next, take the milk pitcher with the handle parallel to your body and pour the steamed milk starting at a high angle while slightly twirling the pitcher. When your milk and espresso are almost to the edge of your tilted cup, stop pouring and lower the milk pitcher to the edge of the coffee cup before pouring to make your design. With the milk pitcher resting against the edge of the coffee cup, begin pouring. Once you start pouring – don’t look back! When a good-sized white circle appears – lift the milk pitcher and drag it through the center of the circle to create a classic heart shape.
Remember practice makes perfect!
For more information about dairy and New England dairy farmers in the area head over to New England Dairy.
SHOP THIS POST:

Thank you to New England Dairy & Food Council for sponsoring this post.
Newsletter
Subscribe to see our favorite pieces of New England, in your inbox weekly.
Leave a Comment